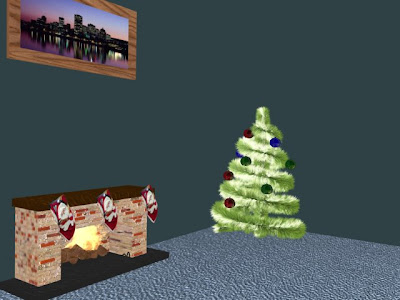
Well the most obvious scene i wanted to make for December was Christmas as this would be easily recognized apart from the other scenes.
Creating the December Scene:
In creating the december scene i decided I wanted it to be placed inside a room of some sort where my other two scenes had been outside. So first job was to create the room. This involved creating 3 planes and turning 2 of them vertically so they represent walls, I needed to do them a fair size because of keeping the background filled up:
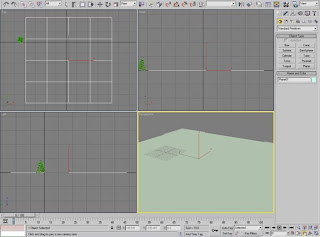
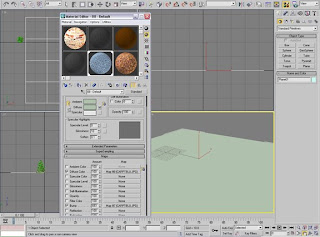
Adding Material to the plane (floor)
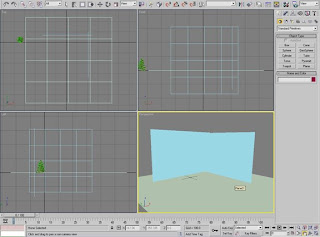
Adding the vertical planes, which are to represent the walls:
Then I decided that a fireplace would be a nice touch to the scene, so I started by adding a box to the scene to represent the concrete base of a fireplace
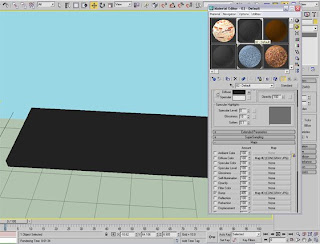 Here I have added a concrete material and bump map to the base to add realism
Next i need to create the grill for the logs to sit on, this involved using two long cylinders dark in colour:
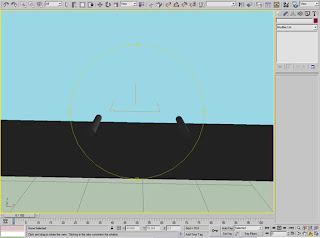
And then needed several longer but narrower cylinders to go across:
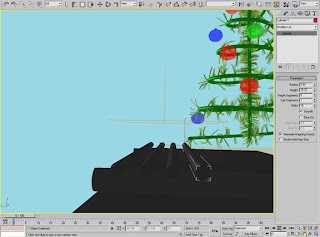
Then i needed another cylinder for the use of the small guard at the front to stop logs falling out of the fireplace, so i create more cylinders and added a bend modifier on them to curve around the front of the fireplace
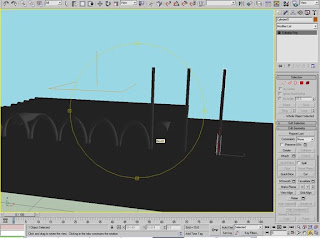
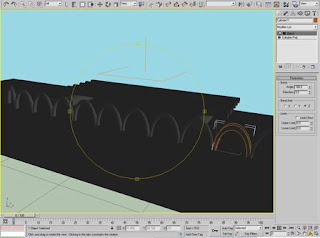
Then I added the logs which involved creating another cylinder and editing the vertices to make it look like a log
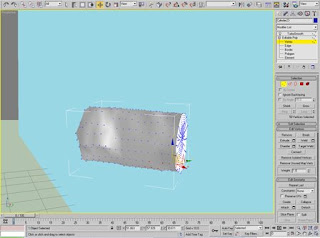
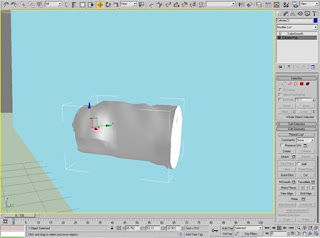
Then I added the turbosmooth modifier
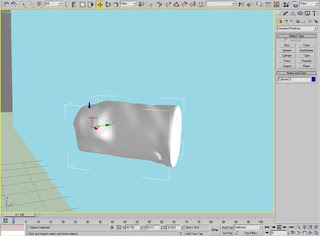
Which was now a created log apart from the material, I used an oak wood bump and diffuse map to create the realism of a log and then cloned the item and scaled each one individually so they all looked different:
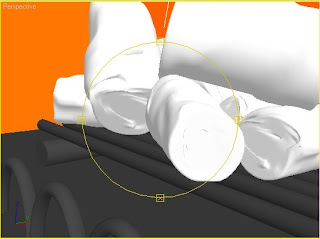
Next came the main part of the fireplace, this was created by making a box with about 10 segements each way and then selecting the middle few segments so that you could extrude
them and create almost an 'n' shape:
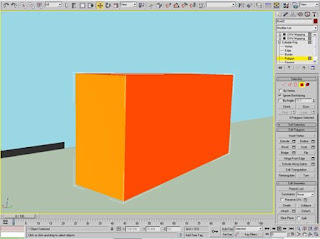
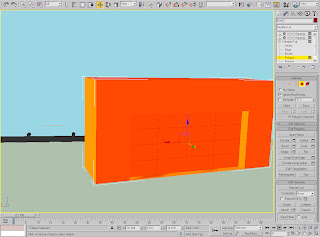
Then adding a brickwork material and bump map to it
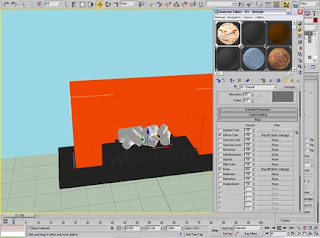
Then i put a box on top of it to represent the mantlepiece
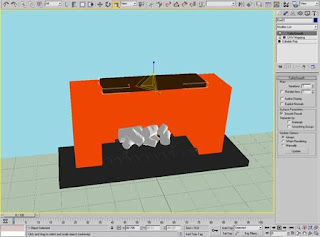
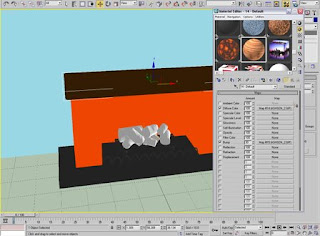
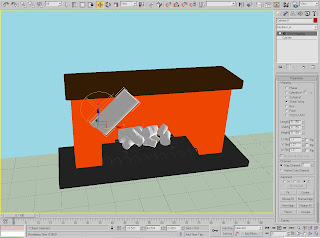
Then I decided to put stockings on the fireplace which were very simple to create, I used a flat cylinder shape longer in length than width. I then added a bend modifier with a limited effect to create the curve at the bottom of it and then just added a material that I found from a picture of a stocking:
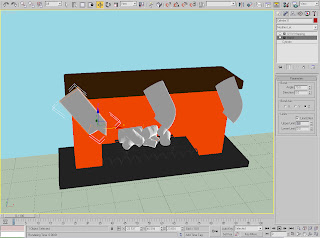
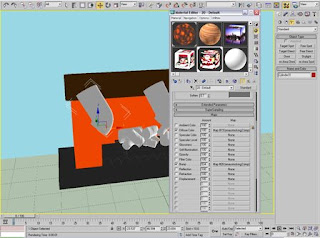
And then just cloned the stocking two more times to create the final effect:
Here is the fireplace rendered now:
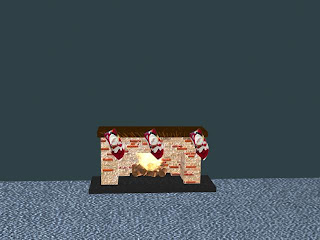
The Fire was created by using a particle blizzard system. I followed a tutorial on tutorialized.com to create the fire.
Fire
Create > Particles > Blizzard
and then changing the particle generation and the particle motion along with a few other settings (we'd be here all day if i explained it all but full tutorial can be found: http://www.tutorialized.com/view/tutorial/Realistic-Fire-Using-Particles/33922 )
then you change the fire to instanced geometry, then you need to add a fiery looking material, here is mine with the box selecting it
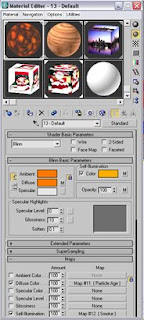
This material will make it give it the fire texture it needs
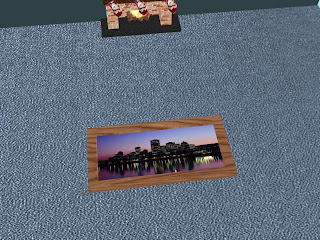
Next i thought a photoframe would be a good addition to the scene, so i created the frame in a simlar way i created the fireplace, I made a shallow box and appropriate size of a photo frame, selected the middle squares leaving the outside edge unhighlighted, then i extruded this part of the box downwards to enhance the outer edge. I then added a UVW map to apply an image to the middle selection, the image was of the skyline in detroit. Then I selected the outer edge and added a wood material to it to give the effect of a wooden frame.
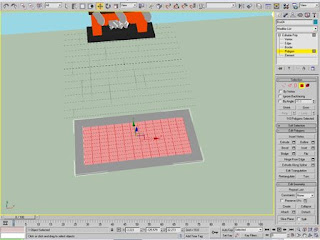
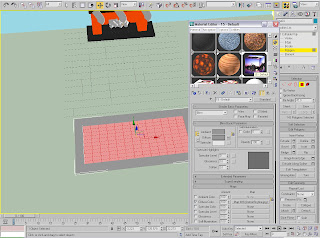
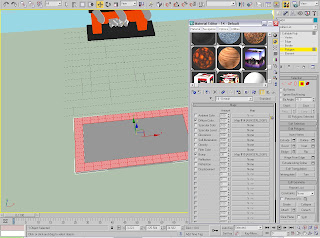 rendered image of photoframe:
And now finally the Christmas Tree;
The Christmas tree was created by using a helix in a scene and then a very small circle
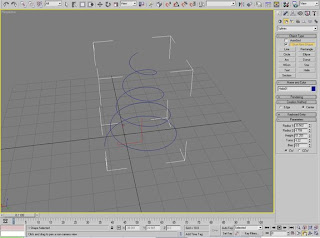
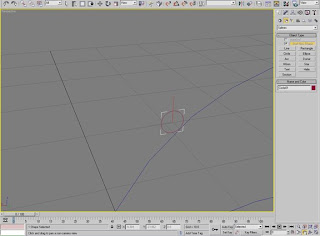
Then, using the loft tool in compound objects, with the circle selected, click 'Get path' and then click on the helix, it should then turn the circle into the helix in 3d
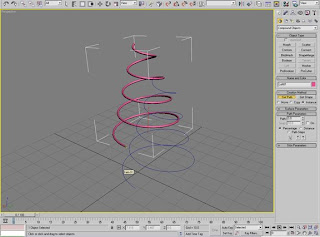
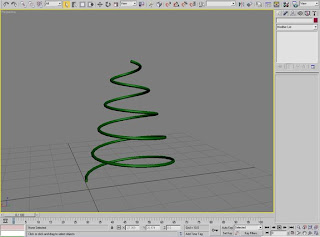
Above is the helix with the colour changed, then i added a long cylinder in the middle:
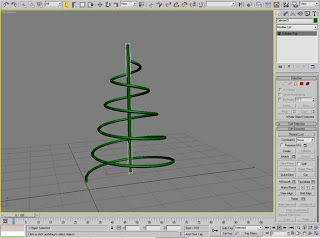
I then added the hair and fur modifier to the cylinder up the middle and the helix (this had to be done at home as the hair and fur modifier does not work currently at the university)
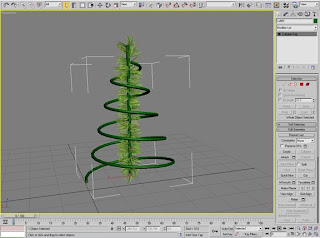
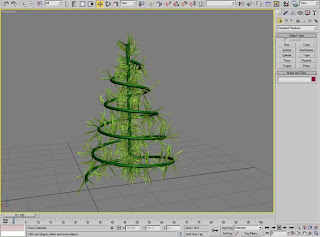
I then wanted to add baubles for decoration:
I created this by using a sphere and adding a raytrace, with its highest reflection setting on it. A reflection map was used which is just a generic picture of a lounge.
The circle on the top was created with a thin cylinder with a bend modifier applied, then rotated until in the correct place, i then grouped the objects together to create the below
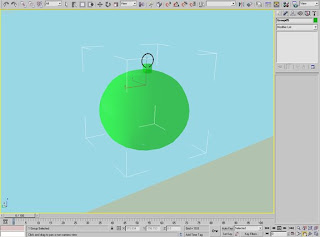
here are the baubles added to the tree, I cloned them and used the same material but changed the diffuse colour to adjust the colouring
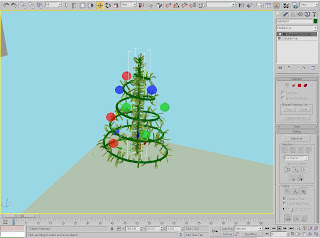
So here is the final scene for December
