August Scene
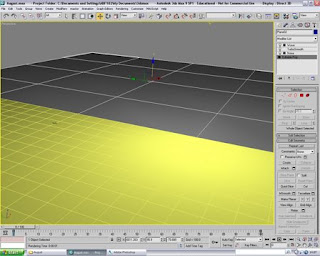
To start with, two planes were created on the landscape, pretty big planes, about 5500 x 6200 on average for both of them. The purpose of creating these planes were for the beach and for the sea. They had to be big so that when i created the main objects in the scene, there would be enough sand and sea in the background without it being cut off because of it being too short. On the left are the two planes that I created.
Next I needed to add effect to the water to make it look like real water, so i decided to add a noise modifier to the plane and the turbo smooth effect to create waves in the water:
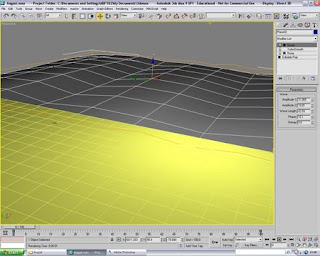 Then a material had to be added to add the look of the water, so i added a raytrace effect and a reflection map of clouds so this it what it would reflect onm the surface, i adjusted the settings until i felt it looked best and also in the material editor i added a bump map of some waves to give it more texture
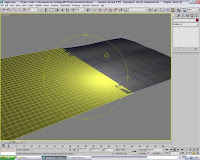


The rendering environment was also changed for the same image i used in the reflect map for the sea, I used an image of some clouds in a sunny sky.
As for the beach, this was created by literally choosing a diffuse colour of the one that best matched sand and using a bump map of a picture of some real sand that i found on a google image search, here is the finished article for the beach and sea after editing:
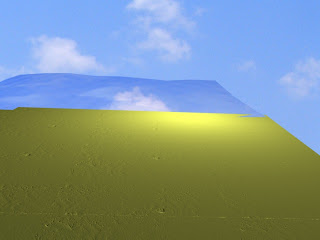 Although in this picture you can see then edge of the planes my plan is to use an angle where you can't.
Next step is to create another plane, this will represent a mat where the future items to be created will lay on, it needs to be a hard surface so the texture of it is not going to inherit any of the beach;'s lines or imprints from underneath.
Here is the small plane created, it has no materials on it, it is literally just a grey plane:
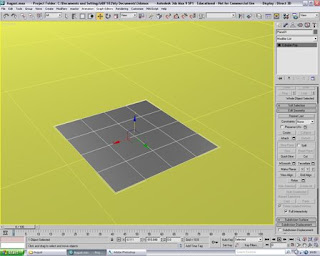
but not much of it will be seen after everything has been added on top of it so there isn't much point adding textures and materials to it.
Next I wanted to put a hot tub in the scene because i felt in the summer, a lot of people refer to swimming or a jacuzzi so I thought this would be quite a nice item to implement.
In creating the hot tub, i started with a plain box that i created and then added a few more segments to it so that when it was smoothed it would smooth it nicely, I also used the extrude feature to push the middle blocks down as seen below:
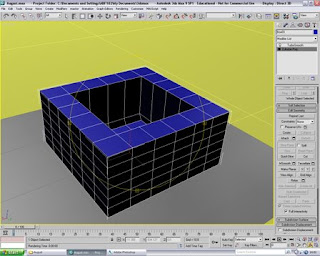
As you can see in the box itself there are quite a few segements, this was to aid the effect we are going to use next, turbosmooth.
Turbosmoothed hot tub:
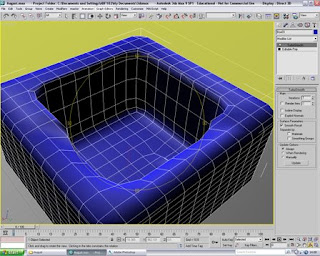
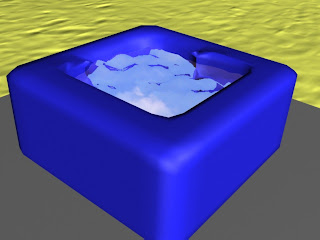
When 3ds max smoothed the box, it didn't smooth correctly inside of the cube and I had real difficulty in sorting it out. Its the bit round the top lip of the inside of the tub that is more curved closest to the bottom of the picture. But after trying for so long to resolve the problem, I realised this could be a comfortable place where you are sitting down and have you head hang over it, so the shape is like that so it's more comfortable for your head.
Next the water had to be put into the scene, well this was created by making a cube that would fit into the hot tub:
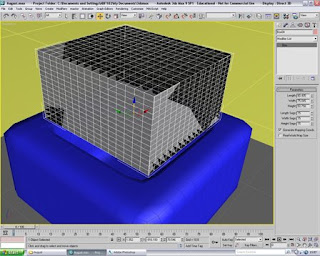
I used the same material effect on this as i did use for the sea, but in a minute you will see that i add a noise modifier that is has more increased settings than I used for the sea because in a hot tub the water is on a much smaller scale so the waves are a lot smaller.
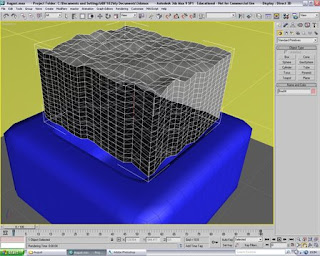
This is the outcome of using smaller waves in the hot tub and then lowering the water into the hot tub will create the final rendered image of the hot tub you see below.
Next came the creation of the speaker. First of all i created a box that was Black in colour:
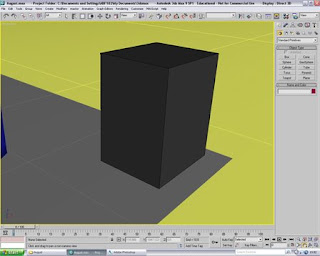 Very simply just chose the box selection from the main choices and then created a shallow cone that didn't come to a point, it had a flat surface at the top, then I increased the number of segments so i could extrude the middle of the cone. I then rotated the cone so it was turned vertical and placed it flat against the speaker I chose blue as the colour for this object. Next I created a sphere, black in colour, to represent the middle of the speaker:
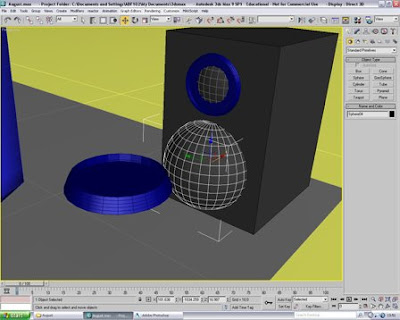
Here is an image of the final thing created (not rendered):
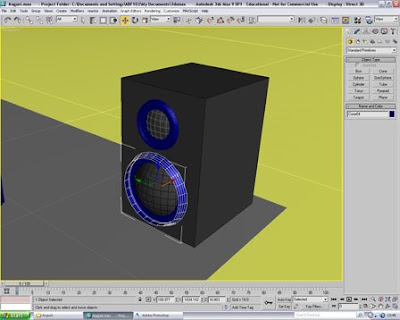
Once I'd finished this i cloned the whole speaker so i had two exactly the same for my scene.
Then I decided to create a table with a wooden effect to add to the scene, this was a very simple task now with the experience i had gained in 3d studio max and the table consisted only of 5 box shapes manipulated to look like a table, with then an added material effect:
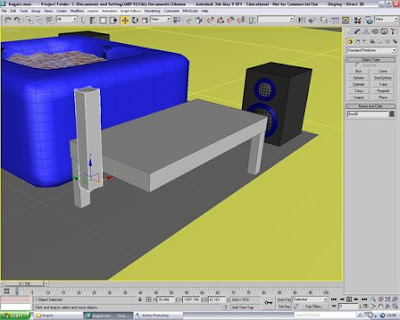
As you can see it is a very simple shape to make and to make sure all the legs were the exact same size, i just cloned them by selecting the object you want to clone, hold down shift then drag it away.
It will then clone the exact item you have just selected
I then added a stock material to the table, just a wood effect with very simple settings, again didn't take too much time on the table because most of it wouldn't be seen.
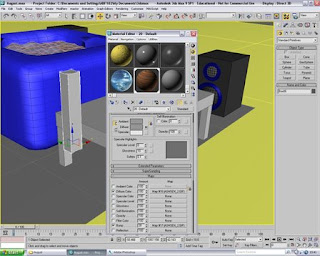
Adding the map to the table.
Now the DJ decks were to be created for the final addition to the scene. This consisted of creating a shallow box again with many segments added so i could manipulate this later, I chose grey in colour and then using almost the same trick i did on the speaker, created a very shallow cone with a flat surface (not pointed) for the top and cloned it twice to represent the place where the records would sit. I then chose to turbo smooth the box i used for the decks to give more of a curvature for an edge.
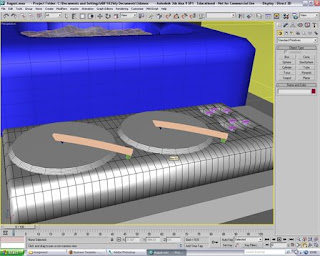
Then I used the extrude tool to create 6 dips in the right hand side that would allow me to make it look like there were slider buttons on the decks, turbosmooth kinda made this look a little worse but i wanted to keep the turbo smooth effect on for the effect that it made overall.
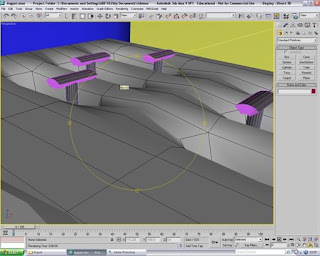
Creating the sliders consisted of a cylinder to put inside the extrusion and then i chose to use a box and add a bend modifier for the top of the handle on the slider which made the box curve in a slightly different wya to normal. I then added a material known as raytrace with refection set to its highest with a reflection map of sky/clouds so they would look like chrome
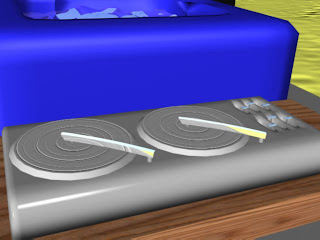
I then used a long box again to create the needle arm and a short sharp cone for the scratcher part of the needle and thought the same chrome effect the I used on the sliders would be nice for them. Here is the final rendered image from the DJ decks. You can also see some of the table in this shot as well with the wood effect.
So here is my final rendered image for August
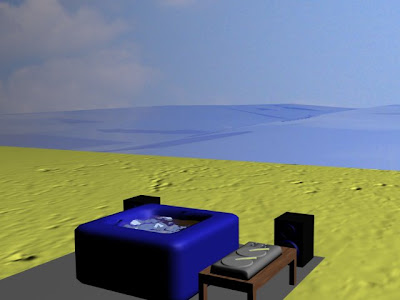
Out of all of my images this was probably the quickest image to create but was quite fun at the same time. I feel it represents August because people like going to the beach, swimming, relaxing, listening to music (Although why you'd have a hot tub on a beach i don't really know!) Hopefully this images creates the feel I want it to.
No comments:
Post a Comment