To start with, the idea I came up with for the third Ident was to have the SKY one logo falling from the sky with a camera panning around it. So the first task for me was to animate the text/Logo falling down, again I imported the SKY one text from my first scene and made a chrome material to add to it this time.
To make the chrome material, I had to enter the material editor and choose a spare sphere, and chose a dark gray diffuse color (for a perfect mirror it should be black, but often a dark grey color has a better effect on chrome). Then I went to add glossiness and specular level (there are no fixed values, the correct effect strongly depends on the light that you create. You can begin with the value 40 in both slots).
The next step was to go to maps and assign to the 'Reflection' map 'Raytrace'. This will allow you to have real reflections of other objects in the scene on this material. The value in the reflection slot should be between 85 and 100 (a mirror must have 100). After I had inserted 'Raytrace' in the reflection map, I saw that the material editor was showing new settings.
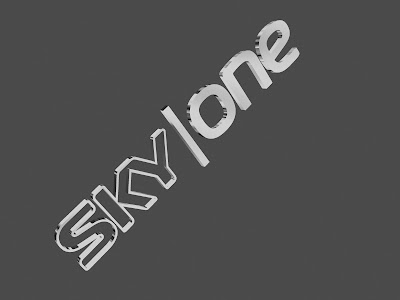
These are the settings of the raytrace panel (on the right side of the material editor you can see written RAYTRACE instead of standard). In there, I assigned a bitmap to the none button in order to display a chrome effect in the reflection. Now the material was out of the way, I could get with getting the text to fall, so the next job was to create the path I wanted the logo to follow, this consisted of creating a vertical line and choosing this line as a path constraint (Animations - Constraints - Path Constraint). Next I had to adjust the keyframe position on the slider, each time a keyframe is set, it leaves a little red block on the slider (see image):

And this represents the end of the individual animation point, so if this is slid backwards, we can speed up the animation and make it finish sooner, so I did this and left about 50 keyframes on the end spare and created another keyframe at the end (with the text still selected here) and rotated the text round a bit (about 30 degrees) to come in line with the camera when we place it there later.
Ground
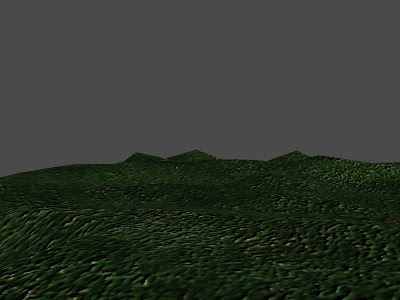
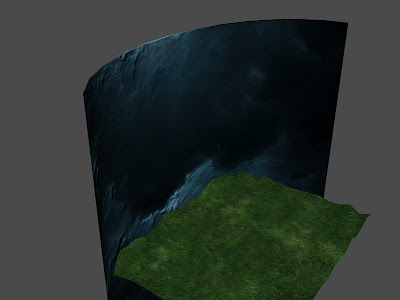
For the ground, I wanted grass and small hills so to achieve this I created a large plane and added a noise modifier to it and experimented with the settings until it gave the effect I was looking for. For the grass effect I would've used the Hair & Fur modifier if it wasn't for the lengthy rendering times and as my scene was about 900 frames long, I thought it would be a better option to use a diffuse map of grass and a bump map of a picture of some grass as well, that way, it renders much quicker.
Background
For the background, I used the same method as I had been doing with the other Idents, create a large plane, rotate it vertically, add a diffuse map and a bump map of a night sky, this one I also chose a Moody night sky and added a bend modifier on it so it would look relatively realistic as the camera pans around the text.
Camera
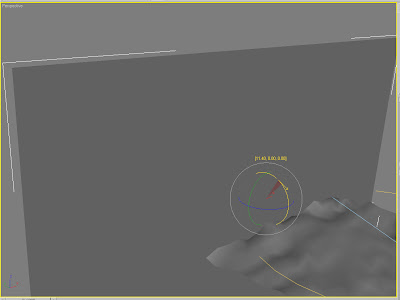
Time to add the camera so we can view the scene properly so far, I used the arc tool from the splines shapes menu and created a large arc placed in front of the background and text. Next I introduced a target camera and assigned the arc as the cameras path constraint for it to move around on. The background was set as the camera target so that it didn't move and gave more of an impression that the text was actually falling from the sky. now the camera actually pans around the text in the viewport I rendered the scene to see what had been created already.
Finishing Touches
After reviewing what at this point was the final render, I still believed it was missing something, I believed the moody sky should be raining to add to the effect. So i searched up tutorials mainly on tutorialized.com to search for something that would suit my needs and found a rain tutorial here: (http://www.tutorialized.com/tutorial/Rain-Fall-Animation-Tutorial-for-beginners/34264) the rain was created from a particle Systems 'PF Source' (even though in the tutorial it says to use spray) I chose to use 'PF Source' instead purely because of the properties it has and the adjustability of it. I used these settings with the rain fall:
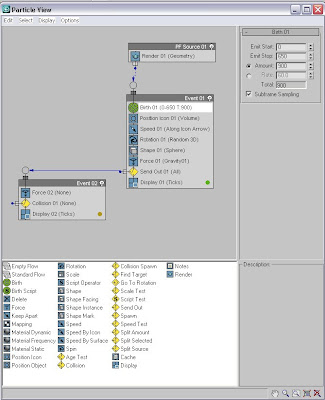
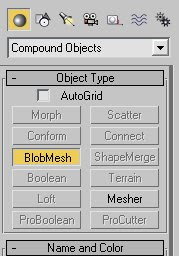
These settings tell the PF Source to create particles that will fall downwards and when to start and when to stop, also in the properties you control how many times they appear, obviously the more there is, the longer it will take to render the scene. Next I attached a Blobmesh to the PF Source to identify the shape of the particles when they're rendered.
Whatever shape the blobmesh is, the particles will be, so first of all I chose a sphere with a see through material to look like water droplets. But after watching the animation through, they didn't look right and I decided to use a long javelin style rain drop as they are falling from the sky and this worked much better.
Lighting
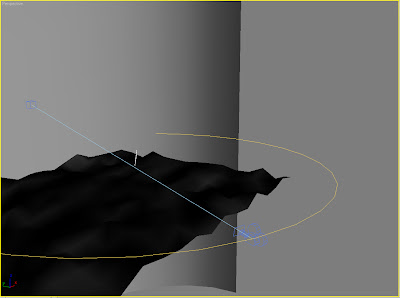
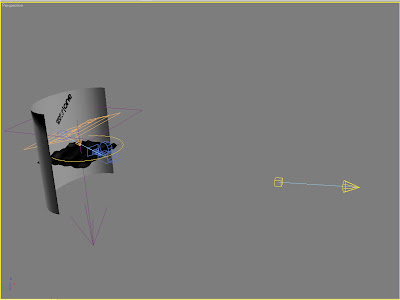
The only thing left to do in 3d Max before rendering was add the lighting to illuminate the scene. I decided to use a target spotlight to highlight the clouds and the edges within the scene, as you can see below, in this scene it makes quite a bit of difference with and without the light:
Without:
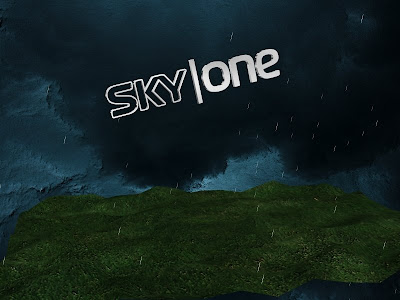
With:
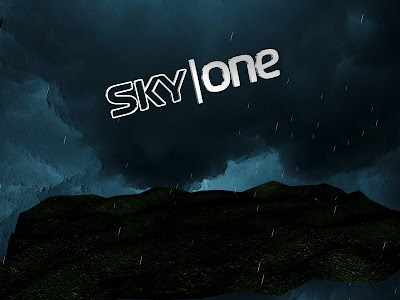
This was a result of putting the spotlight here:
So even though the ground is darker in the scene with light, I feel it puts across much more of a mood when you're watching it.
Sound FX
After rendering this in 3d Max, the job of adding sound to the animation came up, well again I wanted to stick with the Lost theme so I used the Intro music to Lost as the logo was falling down, but in addition, I added some wind sound effects to the scene as well, I used Adobe Premiere pro to edit/add sound
Here is a clip of the final Production:
No comments:
Post a Comment