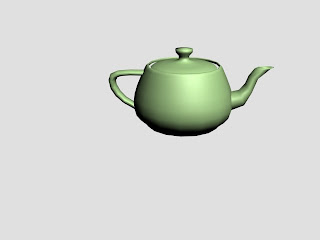
To start with we have a teapot:

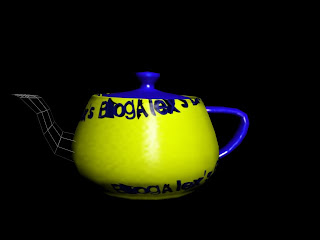
And here is the finished article with different textures:

To create this effect there are a number of stages you have to go through. First of all was creating the teapot, well this was easy because the teapot is a standard shape in 3Ds Max.
So drawing a standard teapot from the list of Geometry shapes available you now have a teapot sitting in front of you. Next task was to assign each part fo the teapot a number so that it knows that there are different 'sections within this one object. To do this you need to convert to editable poly by right-clicking on the object. Open up the Editable Poly short list on the side bar and click on 'Element'. Scroll to the middle and you will see a panel of numbers, just above these there are two text boxes that say Set ID and Select ID, here you are able to seperate the sections of the teapot. To do this just click on a part of the teapot and adjust the 'Set ID' for each seperate part.
Next to edit the individual surfaces, you have to click on Material Editor and click on the button 'Standard' which is next to the drop down box go to Multi/Sub-object and then you will be able to choose the colours or textures for each part of the teapot.
2 comments:
The text effect on your teapot is cool m8, looks good.
I really like the text effect that you created on the teapot.
Post a Comment