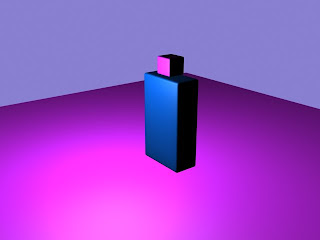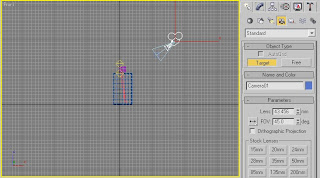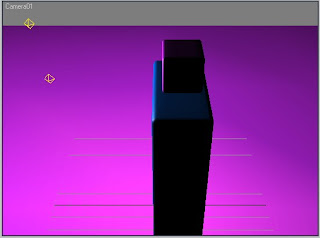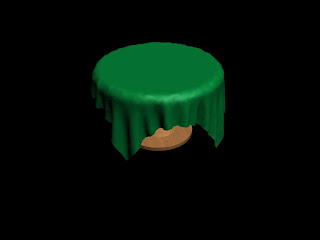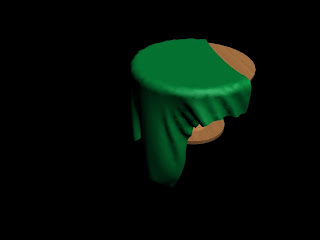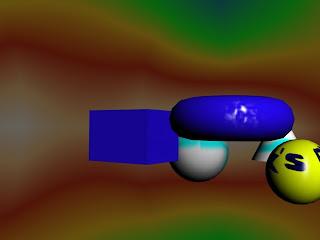
This blog is to show how I learnt to use the material editor.
This is the material Editor with the button you need to press circled in red to get to this menu up:
and here on screen you see 6 spheres at the top with all these options, its very copnfusin to start with but not too bad when you learn the basics.
I will create a various shapes to show the differences in textures with the options
On your basic parameters you have 8 options of different types of shading:
Anisotropic
Blinn
Metal
Multi-layer
Oren-Nayar-Blinn
Phong
Strauss
Translucent shader.
To start with I will demonstrate the Anistropic function (I will keep this post brief-ish because otherwise it could go on forever, this is not complicated once you do it once):
So create any shape, I will use a sphere and open up the material editor again, choose Anisotropic from the drop-down list and I will change the Ambient colour to blue and specular colour is left white, choose whichever you wish for this example.

These are the settings i chose;
Specular Level: 121
Glossiness: 53
Anisotrophy: 43
Orientation: 0
That is all I have changed, now if you click and drag the sphere that should be blue onto your shape, it should appear something like this:
Blinn
The blinn effect, well the only thing I will change here is the colour used and the shape the effect is put onto: the rest will
 be left exactly the same, so here is the effect:
Metal
Next I tackled the metal material. I created a Chamfer box from the extended primitives list and changed the Ambient colour to a very light blue. i changed the Specular level to 82 and the glosiness level to 72 to just mediate and show the effect.
Here is what is created:

Now in my opinion it doesn't really look much like metal but it is probably the closest you will get with the default options, the best option to get a metal effect would probably be to upload an image map and display that instead but this does for a rough representation.
Multi-Layer
For this I created a Torus Knot shape to demonstrate with, clicked on the multi-layer option and we have a large array of options come up with different settings that can be chosen - well I don't want to complicate things so we'll keep it simple. I chose a plain colour, green and adjusted the diffuse level to 120 change the first specular colour to Blue and the second specular level to pink to demonstrate what this does, (I can't personally imagine any scene where i would actually use these three colours together on one object but there we go) Edited the Specular colour levels (Both of them) to 100 and both specular glosiness to 20 and dragged material onto shape.
I also added a self illumination RGB factor of R:161 G:57 B:0 but this is up to you, the self illumantion colour changes it drastically:
Here is what we are presented with

Which I think is quite a cool effect but you can mess an item up using too many colours sometimes, i feel this almost has a feel of Gold to it and i've only adjusted to colours, if i was to turn up the glosiness, it probably would look like gold but there is a lot of different options you can play with on this one.
Oren-Nayar-Blinn
Next I created a teapot to try this effect on. I took self illumination off. Changed the ambient colour to Black and the Specular colour to red. Turned the diffuse level up to 166, the Glosiness up to 14 and the specular level to 832. I also turned up the softness to 0.43 and we have this:

Not a bad effect but can't really think of a situation where you might use it, maybe something thats refelcting a lot of light ot it like in a summer scene. the best thing about this effect is that you can also adjust the opacity and make the item go half see through.
Phong
Next phong, ambient colour to yellow this time and specular colour to blue. I added a self illumination colour of Blue and used the following settings:
Specular Level: 98
Glossiness: 41
Soften: 0.69
I also used a touch of opacity on this shape just so you can see the effect it gives:

As you can see, you can almost see through the tube at the end because of the opacity effect i have used on it.
Strauss
Next I have used a cone to demonstrate the strauss effect, its a matt like colour so not much glosiness here, i chose a dark purple for the colour. Settings are as follows:
Glosiness: 35
Metalness: 50
Opacity: 100
I have ticked faceted as well to add a different effect:

the faceted effect creates the vertical lines down it, and its quite a suitable effect for walls and flooring surfaces that doesn't really reflect very much although if you want to add glossiness you can.
Translucent Shader
and finally, the translucent shader which basically makes objects a bit see through, here I will use a box to demonstrate this effect on:
For all of the colours, Ive used very dark shades of each colour, with a specular level of 60 and a glossiness level of 10. My opacity is set to 25 and Ive used a rendering background of a sky scene from the 3ds max directory to show that the object is translucent:
Here is the result I am left with:

I feel this result is quite a cool effect that could be used in some nice design instances.
