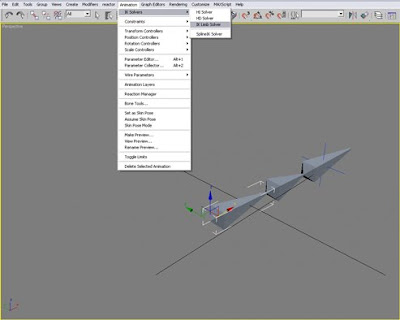
For this tutorial we were showed how to use bones in 3d Studio max, Bones can be found under the Create tab and then 'Systems', By clicking on the 'bones' button. it will allow you to create, surprisingly, a bone or some bones if youw ant to do more than one. Each time you click it will automatically create another bone until you either right-click or press Esc. having these bones could be used to form a still image, but at the moment havent got much use in an animation - which is no use to us right now. you need to join them so they are able to move in sync with each other. To do this, click on the first bone you created and then under the menu options at the top, click 'Animation' - 'IK Solvers' - 'IK Limb Solvers' this will select automatically the bone you have selected and ask you to create a link through the other bones shown by a line which you need to click and join at the end of the bone line.
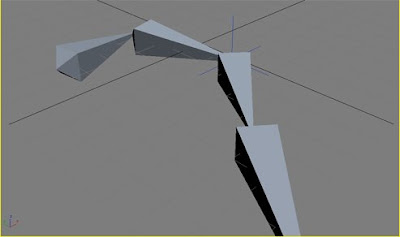
As you can see above, there is a line that is needed to join the bones, but once this link is created, you are then able to move the bones as you would is you were moving an arm or a leg, here is an image of the linked bones bending:
And that is a very simple tutorial for modelling bones.
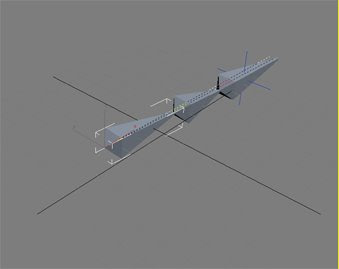
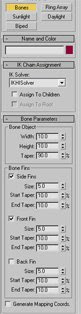
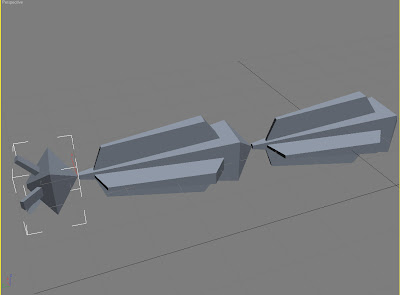
On the bones options before you create them, you have the option to add fins, these add to the chunkiness to the bone, which in turn can add more realism when you are trying to model a human or an animal. Demonstrated below are some bones with fins and also a screen shot of the bones and fins panel:
To be continued....


No comments:
Post a Comment